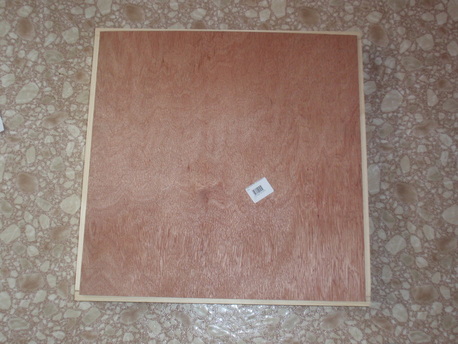
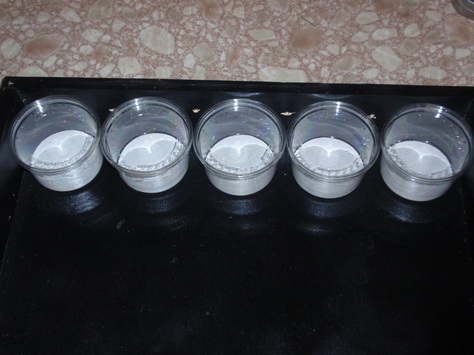
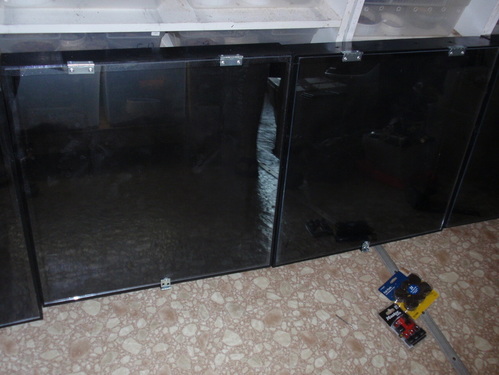
2' x 2' Arcylic Lid Deli Cup Trade Show Display Case
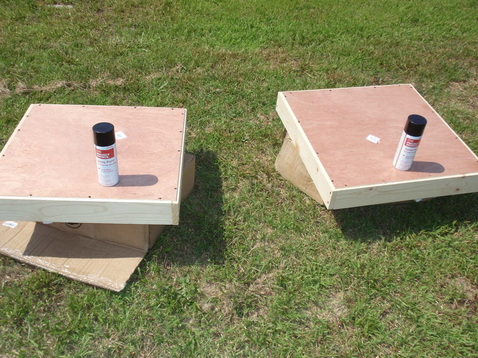
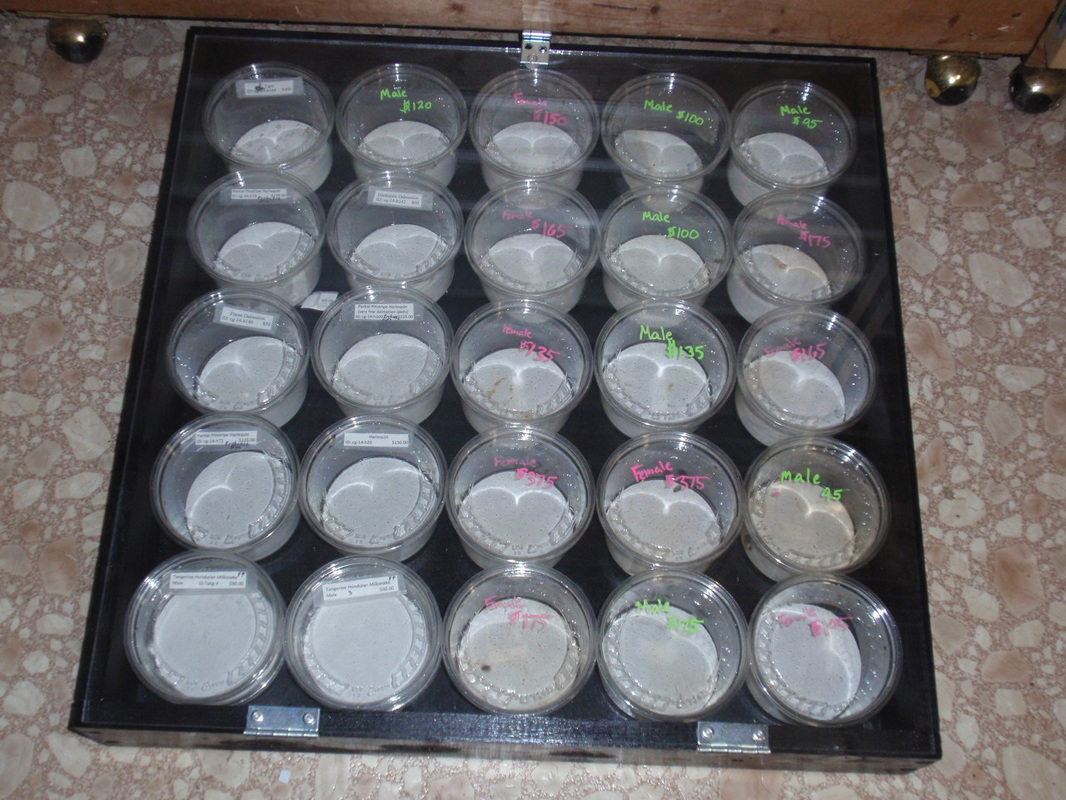
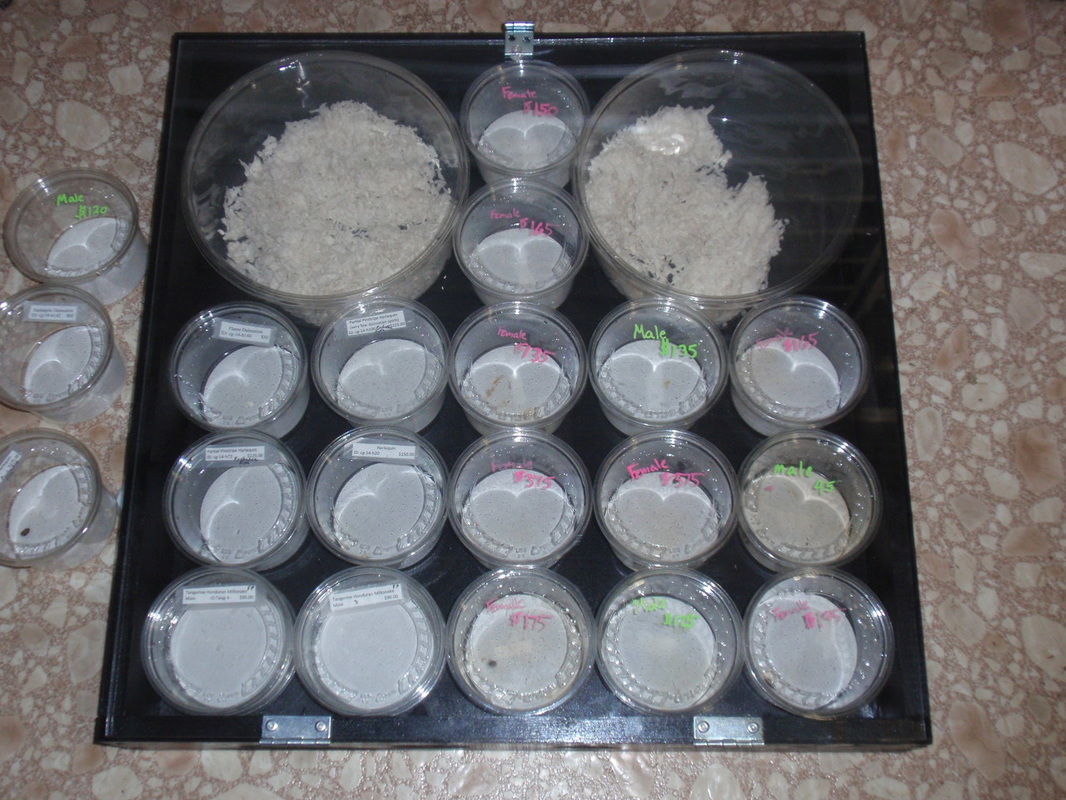
The pictures below are just 2 of the MANY different combinations of cup sizes you can use these display cases for. They break down to just a little over $35ea and look great covering a few tables and full of animals. We wrote this article to give everybody a very affordable option to professionally, and securely, showcase your babies for sale (and some you keeping and just showing off) when doing trade shows.

|

|
|
NOTE: Since the acrylic comes in 2x4 sheets. And each display needs 2x2 sheet. The materials list below is for 2 displays since you have to buy the 2x4 sheet of acrylic anyways may as well may 2 while your doing it!
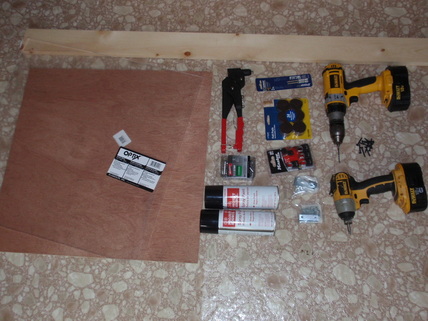
Materials Needed
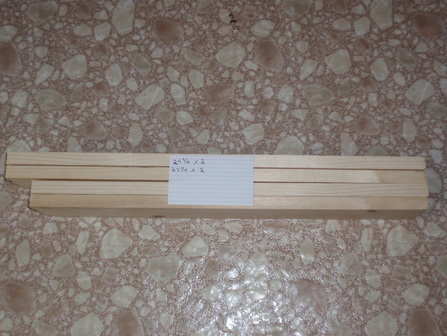
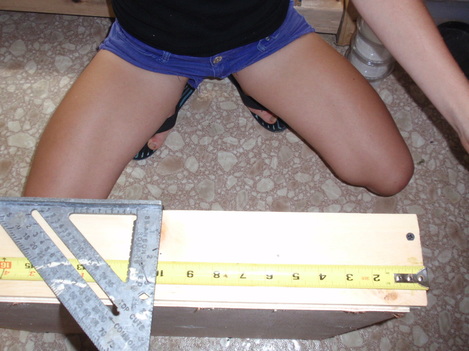
4- 1x4 cut to 24 3/4 '' (pine is likely the cheapest)
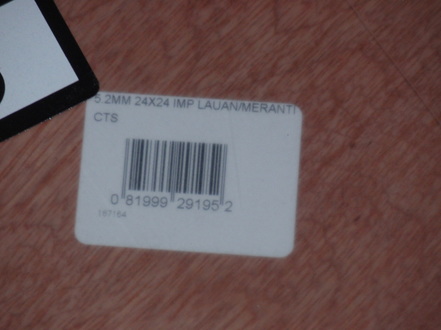
4- 1x4 cut to 23 1/4 '' (pine is likely the cheapest) 1 - 2x4 acrylic sheet. We opted for the thickest you can get which was $60 a 2x4 sheet at lowes. There was a thinner sheet that will work which was $24 for a 2x4 sheet but you would have to be careful not to crack it over time going to and from shows. ALSO: I would not recommend cutting the acrylic sheet yourself. Lowes and Homedepot offer free cuts on the acrylic. Buy you a 2x4 sheet and ask them to cut it for you into 2 pieces 2x2. If it breaks during the cut. Well you hadn't paid for it yet and they will try again. Seems like a no brainer to just let them do it! 2 - 2x2 pre cut Lauan board 1 - 2pack of small hinges 1 - locking latch 1- pack of soft sticky pad feet 2- cans of what ever spray paint you desire (I prefer black gloss paint but feel free to be creative) 1- box 1.5 inc wood screws (or close in size) 1- bag of pop rivets (for hinges and latch. Could use bolts instead) Tools Needed
1- small drillbit for pilot holes
1- #2 drill bit 1-2 Screwguns. (one will get the job done, but having 2 screwguns and not having to change the bits back and forth makes for a much easier, faster job!) 1-square 1- tape measurer 1- pencil, pen, or marker |
|
|
|
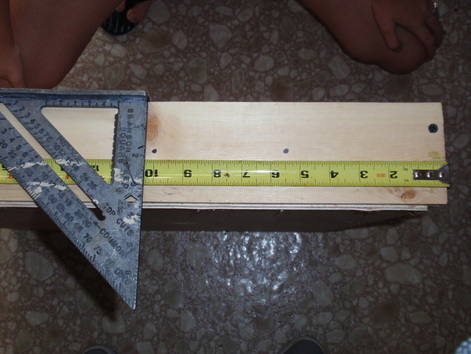
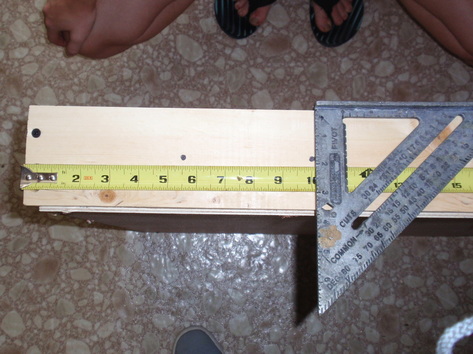
Framing Out the Side Of Your Display
Lay your boards out so the smaller boards are inside the longer boards. This should make all for of your sides about 24 3/4 inches because the side with the small board will gain 3/4in on each end from the thickness of the front and back boards.
|
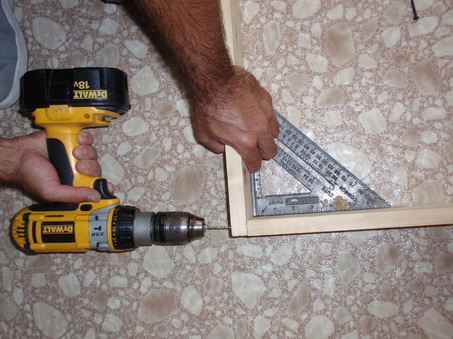
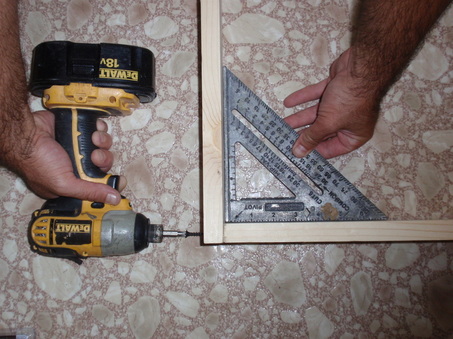
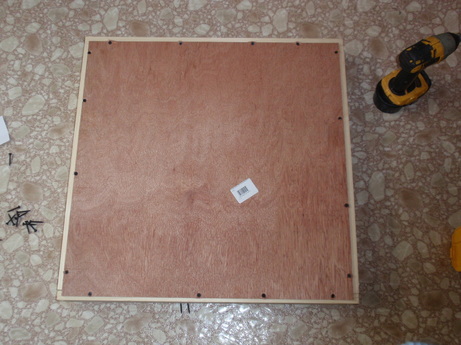
Squaring The Box And Putting It Together
Be sure to use your square for each corner. Once you are confident it is correct take your drill and put 2 pilot holes. Again being sure it is square first, go ahead and screw the boards together. If you do not drill pilot holes there is a good chance you will crack the boards....so why risk it???
|
|
|
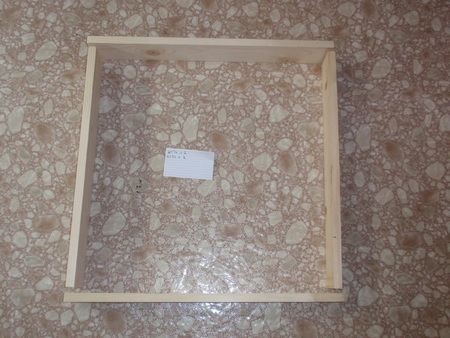
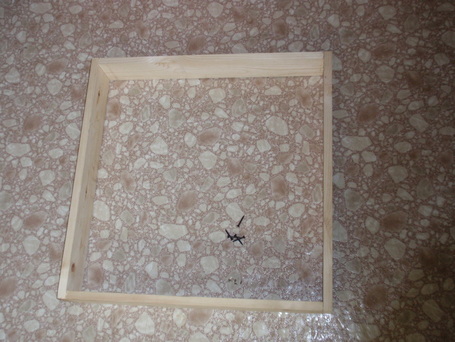
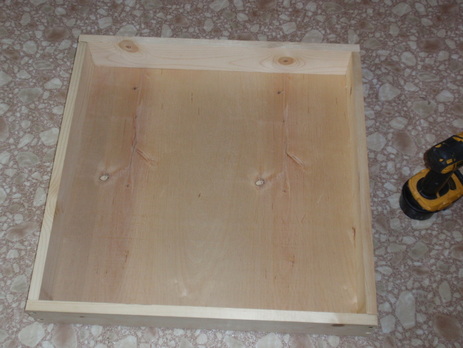
Putting On The Bottom
Now that you have a solid square box go ahead and lay your lauan piece on it. The board is a little smaller than your box but that's ok. Just make sure that it is centered. Go ahead and screw it off in the same manner using pilot holes first. Some of your screws may need to go in at a slight angle to get the screw in secure.
|
|
|
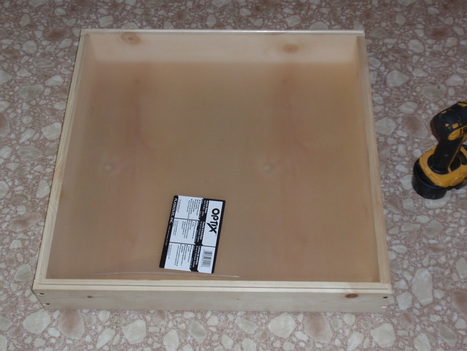
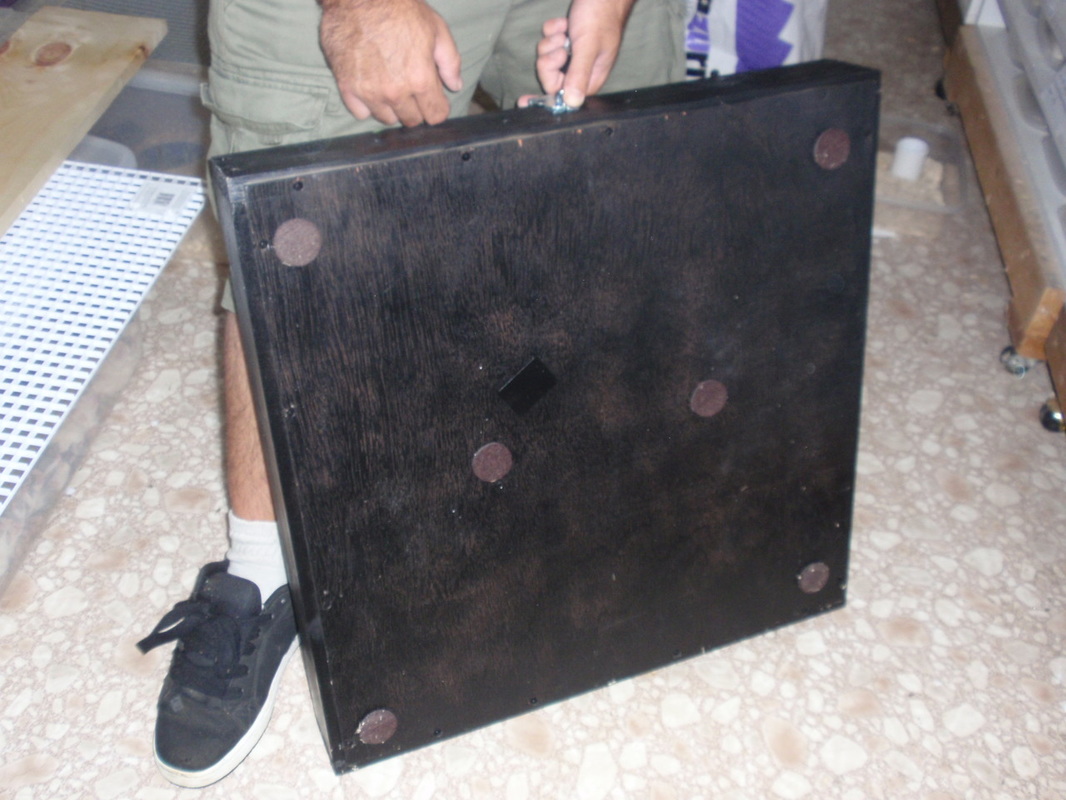
Flip Your Box Over and Admirer Your Work
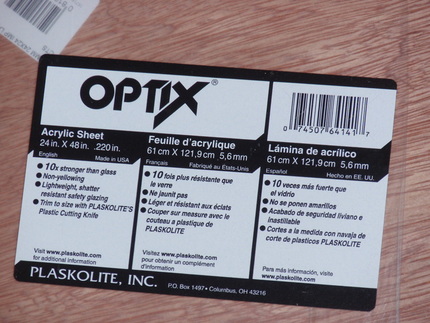
The Acrylic is the expensive part of this build so now that the box is complete go ahead and lay it up there and make sure it fits It will be a hair smaller than the box but again that is just fine. Don't worry it will be crystal clear when you finally pull the protective plastic off.... I would not recommend cutting the acrylic sheet yourself. Lowes and Homedepot offer free cuts on the acrylic. Buy you a 2x4 sheet and ask them to cut it for you into 2 pieces 2x2. If it breaks during the cut. Well you hadn't paid for it yet and they will try again. Seems like a no brainer to just let them do it!
|
|
|
Drilling Air Holes
This is likely major overkill but I do like having a few holes drilled in the box to just help allow air in during the long ride to shows when I have displays stacked on top of each other. Measure from each side and put a dot at 5.5in and 10in from the side and 1.75in from the top. Repeat from both sides. This will leave you with 4 holes perfectly centered and will work out to have 1 hole between each row of cups with the small deli cups.
|
|
|
|
Here is a picture of one that was already painted I decided to add holes to so you can really see how it will work out having the raw wood exposed from the holes on the black paint. (I painted the holes during the paint process so it was all black. Yours will be all painted since your holes were done before paint)
Ok lets rewind the build to before paint and get back to work! |
|
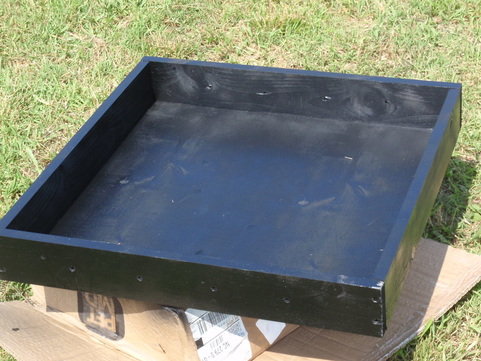
Painting The Displays
Take your displays outside and set them up on cardboard boxes or paper out in the yard. Somewhere that it won't hurt if you spray more than the displays with paint. Spray away!!! Be sure to shoot some paint in your air holes so no raw wood is showing. Do not try to do 1 THICK coat and be done. It will drip and look bad. Plan on doing a quick cover coat. Letting it dry a little and then putting on a second coat.
|
|
Don't rush this step. As you can see sometimes 2 coats doesn't even do it and you may need to spray a 3rd. It always looks better to do a few thin coats that are put on evenly vs globing it on and having a bunch of drip marks because you wanted it done in 1 coat.
IMPORTANTatBe patient and make sure you allow your paint to dry before moving on! It only took about an hour for ours to fully dry in the sun but it was HOT. Remember, the acrylic is the expensive part of the build so don't rush here and get paint on the acrylic in the next step because you didn't let it dry all the way! You are building this for selling babies at shows after all so I'm sure there's some cages you can clean or animals you can feed to kill the time :-p
|
This Step is Optional Although One I Would Never Skip Myself
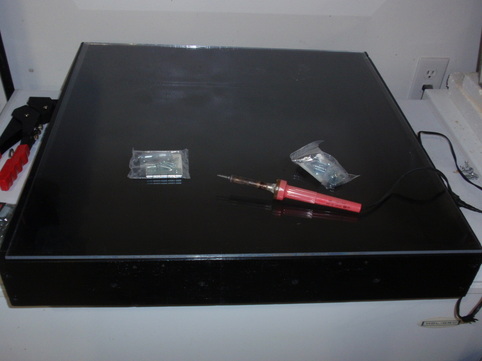
I know some people may not have the confidence to want to go drilling or soldering holes in their expensive acrylic sheets and securing hinges and latches. We do a lot of shows that are entire weekends so I just like the peace of mind knowing my boxes are locked securely closed when I leave my displays overnight setup at a show for the weekend. I have had animals stolen at shows but my main concern would be a snake popping out a cup and pushing out. When the lid is latched and locked shut it keeps pressure on the lids of the big cups that are holding the bigger snakes that would actually have the strength to push out. Knowing the what you gain having a lid now you have to decide if you want to stop here and just lay your sheet on top of the box at shows which will still keep people from picking cups up without permission or worse case scenerio picking them up and walking away with them while your aren't looking. Sad we have to even worry about that at a trade show but it does happen.
Securing The Acrylic Lid
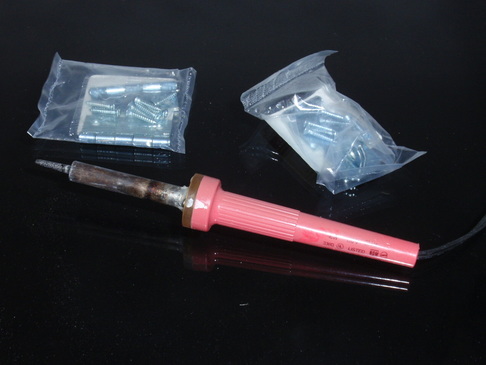
You could easily drill holes in the acrylic but I am just much more confident using a soldering iron and melting holes in it. I have cracked acrylic drilling it but I have never cracked it melting it!!!
|
|
|
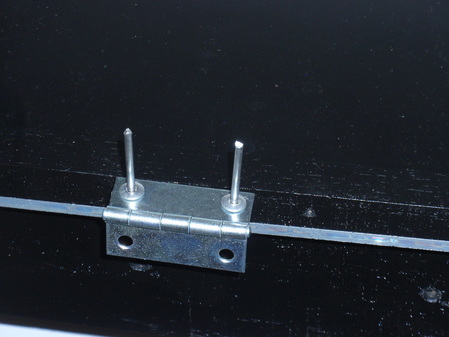
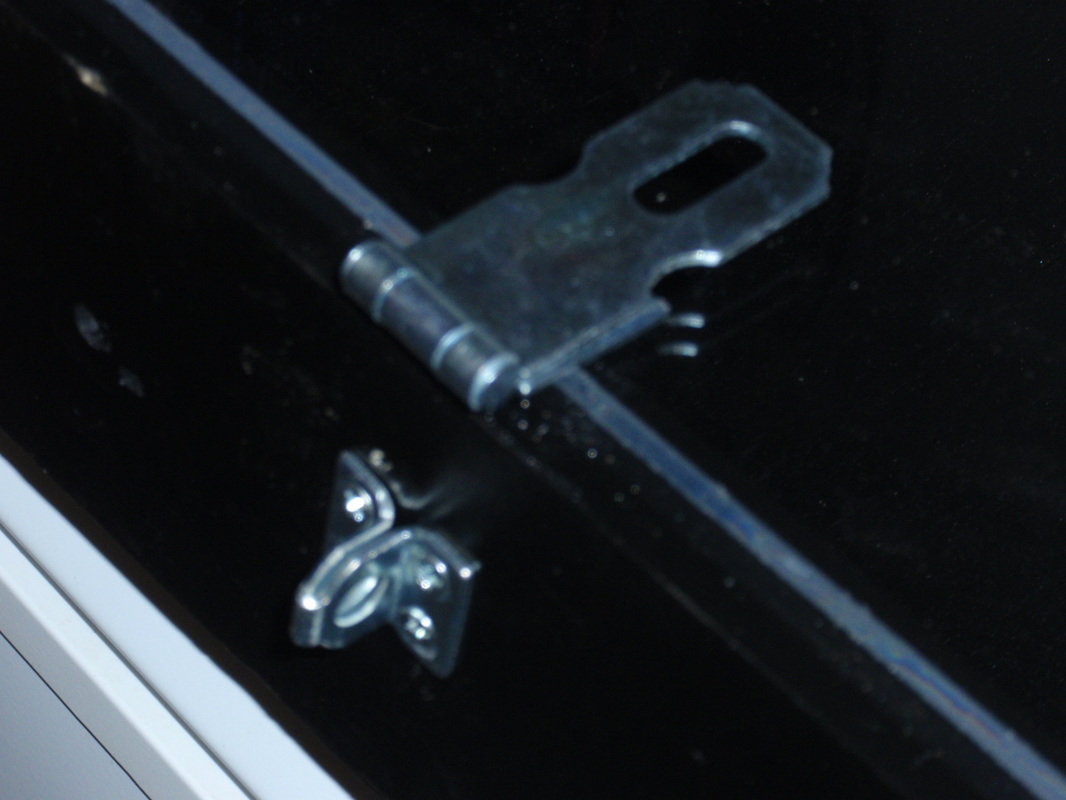
Securing Your Hinges
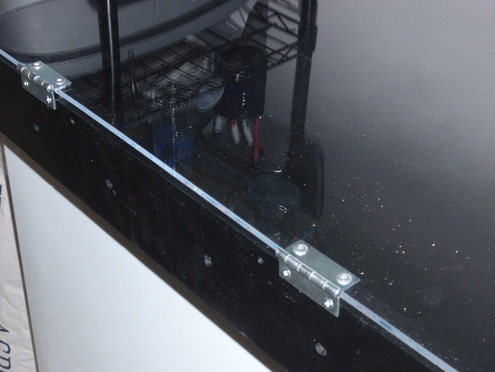
set your hinges out about 6inches from each end. You are going to want your hinges on one of the sides that has air holes. Otherwise when you have displays side by side it would cover the air holes if they were on the sides. Being on the front and back you will never cover them up no matter what you put beside your display. Make sure the acrylic sheet is square and before adding the hinges take your latch and sit it on the opposite side of the hinges to make sure you will have enough acrylic sheet to hit one hole on the latch piece. The sheet is a hair shorter than the box so better to have more on the side with the hinges since they will have weight and pressure on them when you open and close the box. The latch only needs one rivet because honestly if somebody is going to break it to steal something. It is acrylic so 1 rivet vs 3 rivets won't matter. One will be enough to keep a snake from pushing out if it got loose overnight in the display though. Now that you are confident the acrylic is where it needs to be and the hinges are where they need to be take the soldering iron or a marker and mark the holes on the hinges. Once marked slide the sheet so you can either drill or solder your holes in the acrylic. Take a rivet (or bolt if that's what you want to use) and check that it goes through the hinge and through the acrylic smoothly and freely. If you have to use a good bit of pressure to work your rivet through the acrylic move it out the way and solder a little more away. If the rivet moves freely in and out chances are you can pop the rivet in without putting pressure on the acrylic and potentially cracking it. I have learned this the hard way that if the acrylic is really tight on the rivet before you pop it you can crack it from having to much pressure on it.
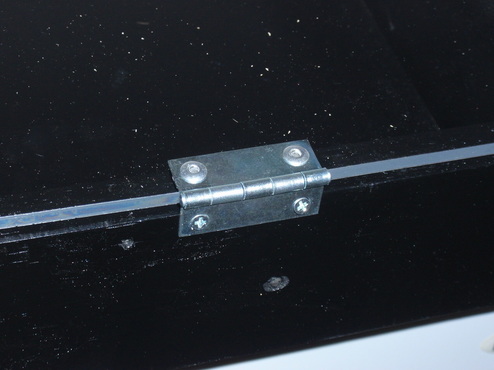
Once both hinges are riveted to the acrylic now make sure it is in the correct spot on the box and screw the hinges right to the box. If you put your hinges on as shown in the picture you can open the case so that the lid hangs at the front of your table at the trade show if you need to show an animal to a customer or clean some messy cups from being left overnight without having to hold the lid. |
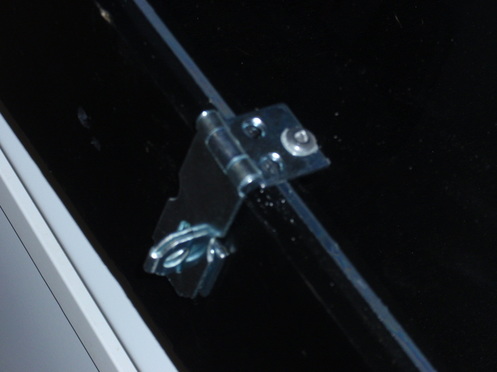
Attaching The Locking Latches
Now you can see what I mean about the latch only getting 1 rivet. This is fine though as it's more than enough to keep the lid down when you want it down! Place your locking latch dead center of the case and mark the one hole. Drill or solder the hole just like you did on the hinges and go ahead and pop a rivet to keep it there. Now be sure to lay the latch down over the piece it locks to so you are 100% sure that is where it needs to close and function like it should. Then shoot your 4 small screws in and you are done.
|
|
|
FINISHED YOUR 2 DISPLAY CASES!!
Way to go on building your display cases! Now you can display the babies you worked hard to produce in secure way that looks professional but doesn't break the bank. I think the 2 display cases cost $75 TOTAL which breaks down to a little more than $35ea per case. Not to shabby.
|
|
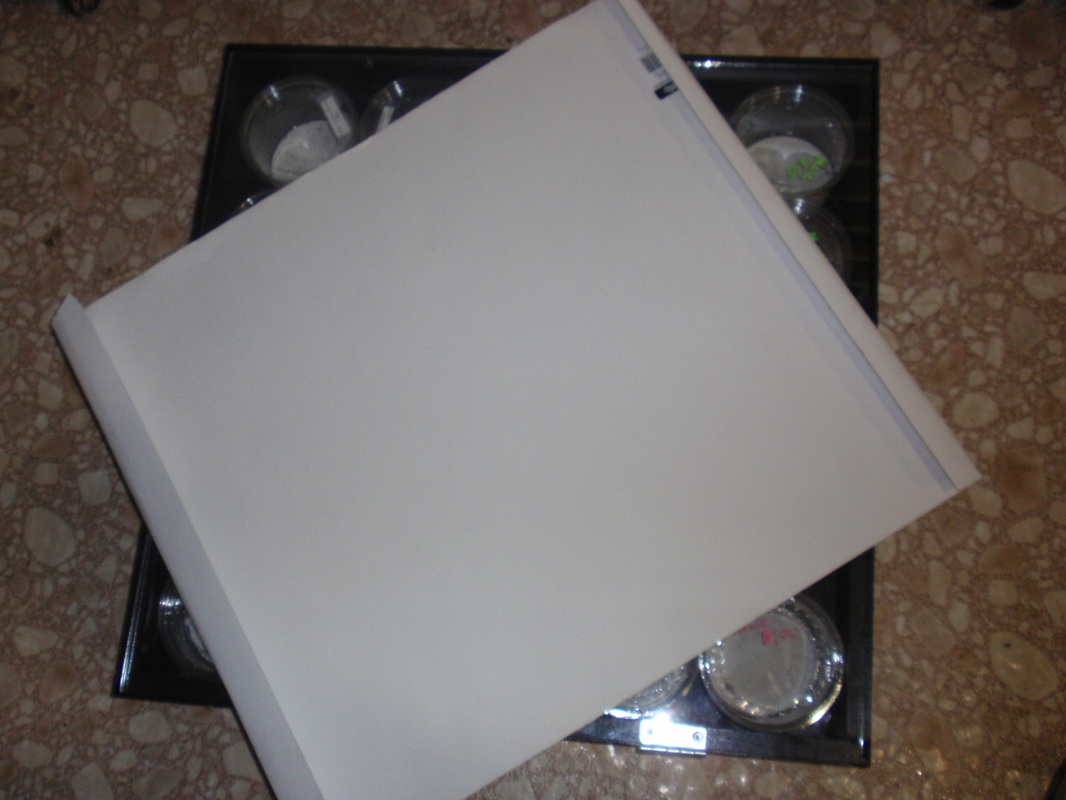
Protect Your Finished Cases
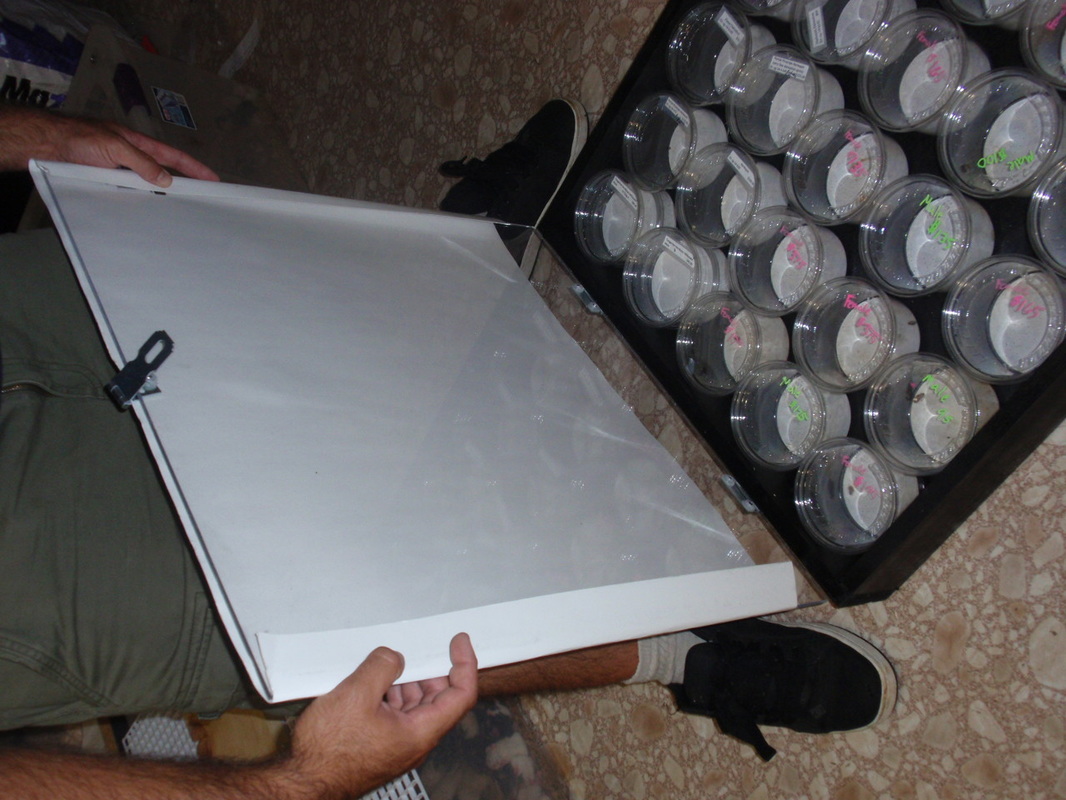
To protect the cases I purchased a pack of sticky round feed and put them on the bottoms of the cases. Then took a sheet of poster board and folded the edges around the acrylic so when I close it the folded tables are wedged between the acrylic and the wooden box. This allows me to stack the cases up for storage and on the road when I go to shows. You put to much effort into these boxes to not protect them so they last!!
|
|
|
Now SELL SELL SELL!!!!!
I hope this article helps and good luck with your sales at the next trade show!!!
The pictures below are just 2 of the MANY different combinations of cup sizes you can use these display cases for.
The pictures below are just 2 of the MANY different combinations of cup sizes you can use these display cases for.
|
|