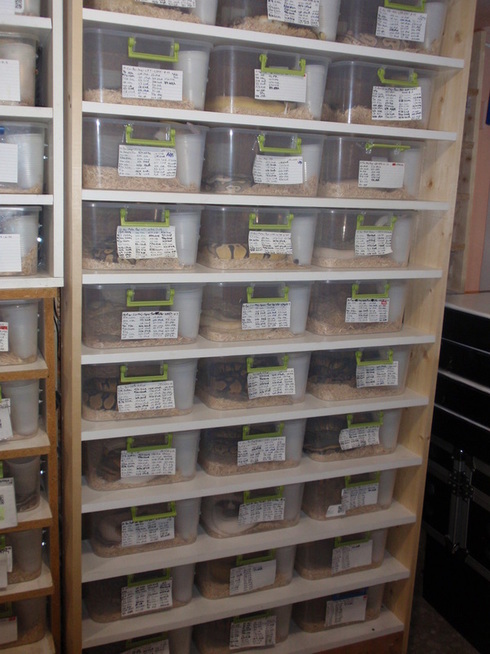
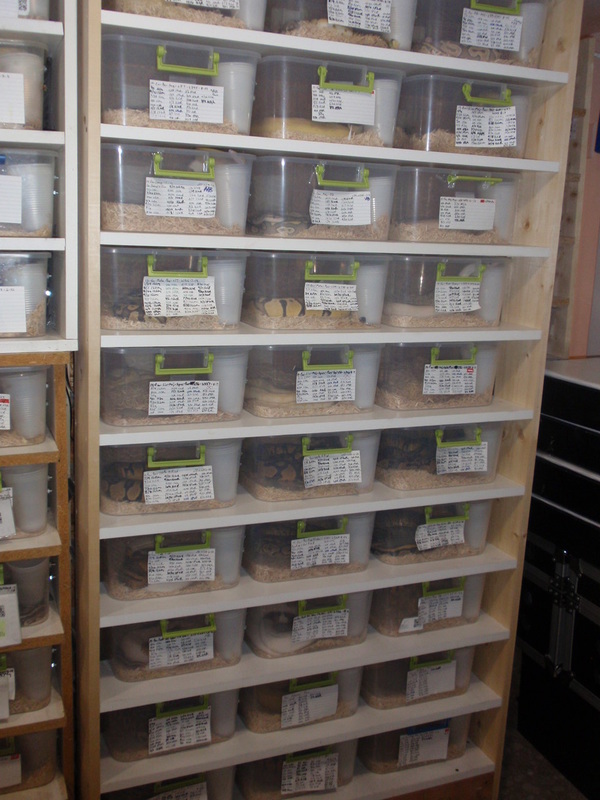
30 Tub 12qt rack
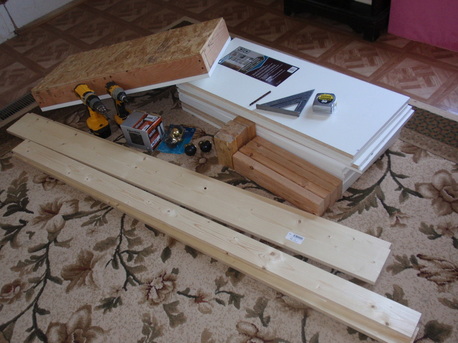
Materials Needed
2- 2x4's cut to 13 1/4 inches
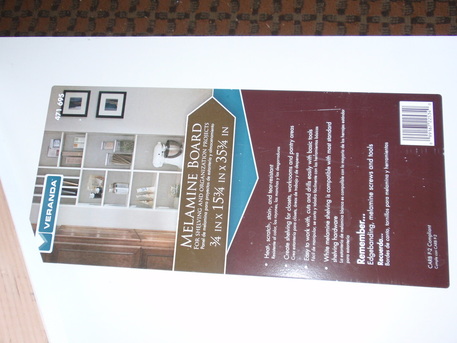
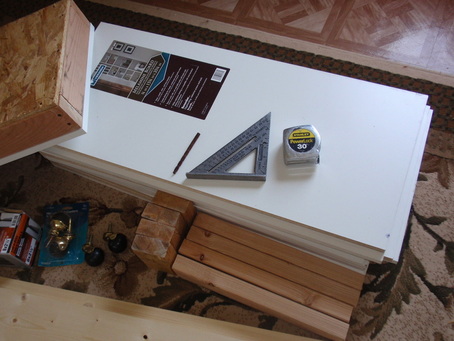
2- 2x4's cut to 35 3/4 inches 4- 2x4's cut to 16 1/4 inches 4- 2x4's cut to 5 3/4 inches (used to keep shelf spacing uniform) 4- heavy duty caster wheels 2- 1x4 6 foot boards. Pine is likely the cheapest 2- 1x6 6 foot boards. Pine is likely the cheapest (the 2 sets of boards above are going to be the posts for the sides of the rack and measurements are for a 10 level 30 tub rack, add or subtract 6 3/4 inches for every level you add or take away from your rack) 11- precut 15 3/4 inch x 35 5/8 inch x 3/4inch melamine shelving boards from Home Depot. (this is for a 10 level 30 tub rack. You want 1 extra melamine board for however many levels you want. example 5 boards for a 4 level 12 tub rack.) 1- One piece of plyboard cut to 15 3/4 inches x 35 5/8 inches or you can just buy an extra precut melamine board (this is just to seal the insulation in the caster. This is optional and not necessary if you don't insulate the bottom. Plyboard is just lighter but melamine will work fine) 1- Box of 1.5 inch wood screws 1- Box 2.5 inch wood screws 1- roll of r-13 insulation (optional) 1- roll of foil tape (for flexwatt) 1- About 42inches of 4inch flexwatt per shelf. For a 10 level 30 tub rack you will need about 35' total. At about $2 per foot I always...always... buy an extra foot or two JUST IN CASE something happens. You can easily cut off and discard an extra foot or two for an exact fit but nothing kills building a rack to roll out the heat tape and see you are a foot or less short!!! (another option could be the 3'' heat tape but I always prefer the 4'') Tools Needed
1- small drillbit for pilot holes
1- #2 drill bit 1-2 Screwguns. (one will get the job done, but having 2 screwguns and not having to change the bits back and forth makes for a much easier, faster job!) 1-square 1- tape measurer 1- pencil, pen, or marker |
Now You Are Ready To Start Building!!!
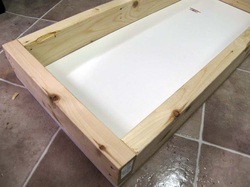
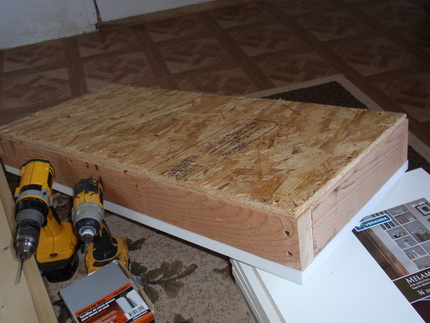
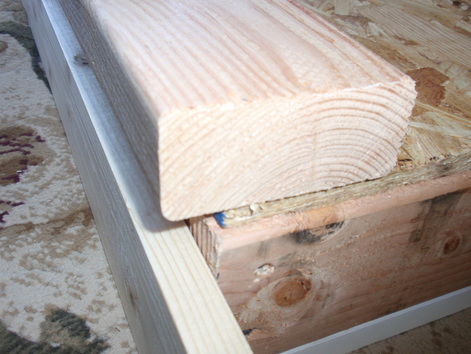
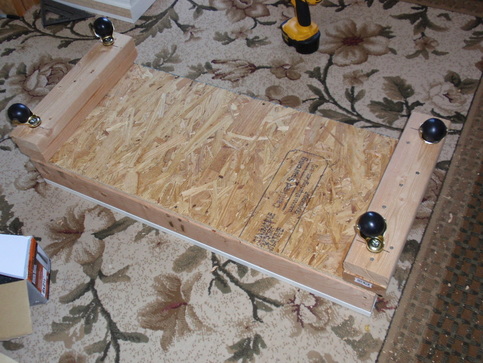
2x4 assembly for the casterUsing your factory cut sheet of melamine to make sure your 2x4s are square and not sticking out past the melamine platform assemble the frame by screwing the face of the 35 3/4'' 2x4's into the ends of the 13 1/4'' 2x4's. The boards on this rack will be laid out on the shelf the opposite so the long board goes the full stretch and the short boards do not.. Use 2 screws on each end so that everything stays firm.
ATTENTION: The pic to the left was stolen from the DIY 41 qt article. The boards on this rack will be laid out on the shelf the opposite so the long board goes the full stretch and the short boards do not. |
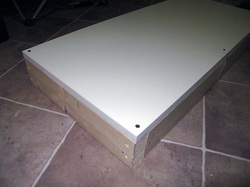
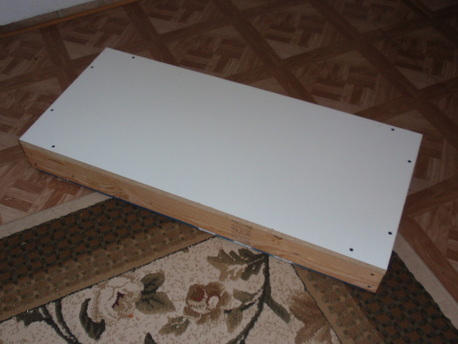
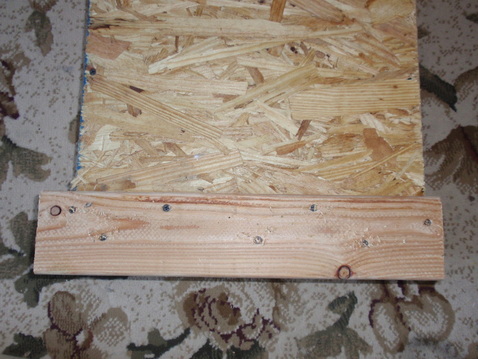
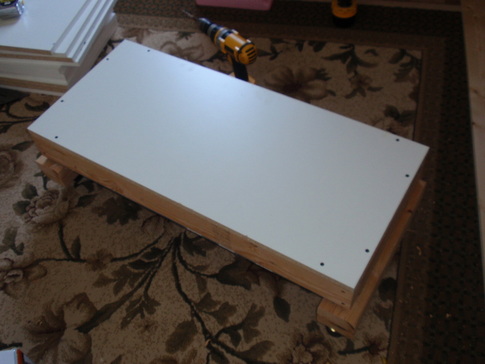
Screwing Down The Melamine Top To The CasterBefore you start screwing make sure that the 2x4 frame is square to the melamine and everything is flush. Once you are satisfied the pieces are lined up right take your drill and drill a pilot hole in one of the corners and tack the board down with a screw. Repeat this process for every corner making sure the frame stays lined up in the right position. Once you get the second screw in you're not going to be able to adjust it. After all four corners are tacked down add another screw in the middle of the board long ways just for good measure.
ATTENTION: The pic to the left was stolen from the DIY 41 qt article. The boards on this rack will be laid out on the shelf the opposite so the long board goes the full stretch and the short boards do not. |
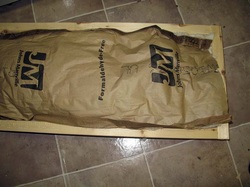
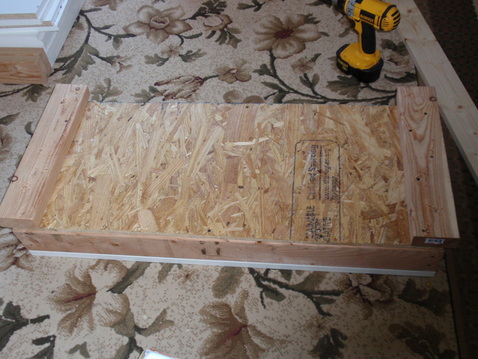
InsulationEvery time I built a rack there was something that I wish I'd done different after it was built. Making sure the bottom is good and insulated is one of them! For this rack I actually stuffed 2 layers of R-13 insulation inside my caster. You can see the top piece in the photo. There is actually a second piece stuffed in below that one. This step is optional, but it's a step that I would never build a rack for myself again in the future without doing.
ATTENTION: The pic to the left was stolen from the DIY 41 qt article. The boards on this rack will be laid out on the shelf the opposite so the long board goes the full stretch and the short boards do not. |
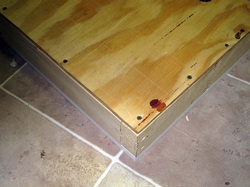
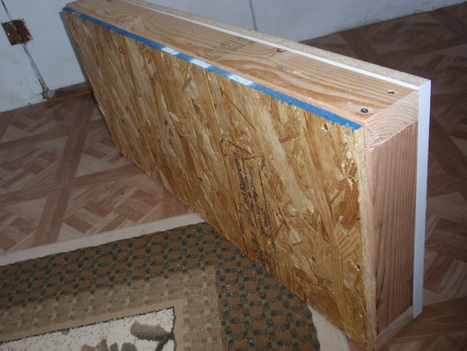
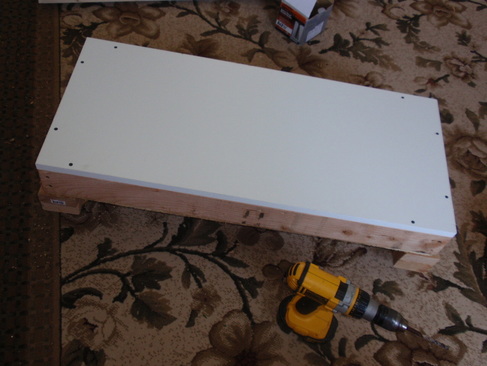
Sealing The Insulation Inside The CasterIf you decided not to use insulation you can skip this step if you'd like. If you did install insulation, just go ahead and make sure it's packed in there nicely and place your cut plyboard piece on, make sure it's all flush with the frame and screw it down. If you don't feel like buying and cutting a piece of plyboard to fit, you can easily use a piece of precut melamine for the top and bottom of the caster. I just prefer to use plyboard because it's significantly lighter than the melamine.
ATTENTION: The pic to the left was stolen from the DIY 41 qt article. The boards on this rack will be laid out on the shelf the opposite so the long board goes the full stretch and the short boards do not. |
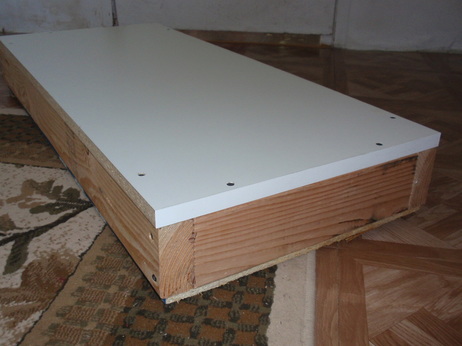
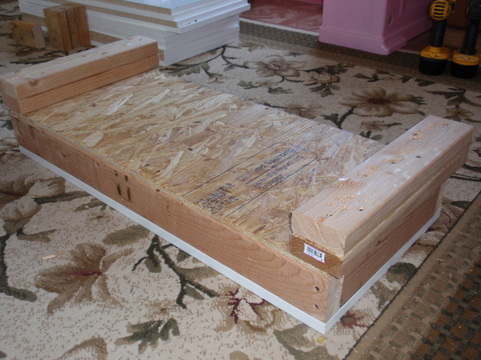
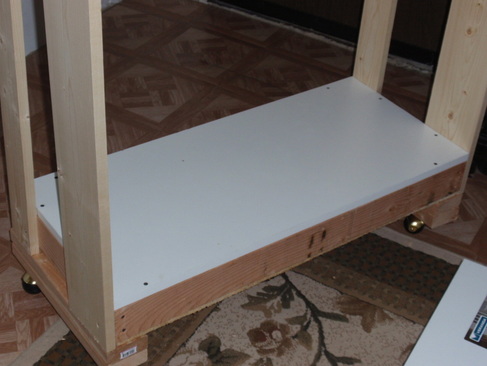
Sorry about the above 4 pics being built a little different for the 41qt rack. I had already built the caster when I decided why not take pics and do another DIY article since the 41qt article has helped so many people over the years!! You can see in the pic below of the already build caster for this rack the difference in how the boards are laid out. Easy enough to figure out this step though. Now back to the build :-)
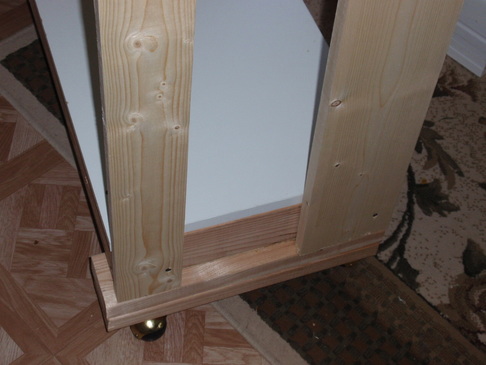
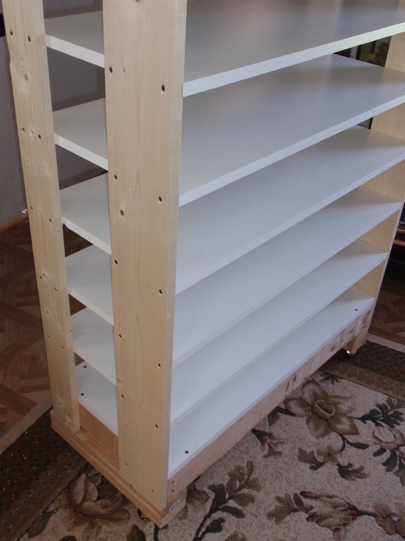
Add the 2x4 Braces For The WheelsTake 2 of the 2x4's that were cut 16 1/4 inches and align them along the bottom sides of the caster. Let the 2x4 hang over the edge and back of the caster box the thickness of one of the 6 foot posts for the side braces. This way there is a slight lip for the braces and back to rest on for added support. Screw the 2x4's down so that your screws hit the first 2x4's you used to make the sides of the caster.
|
2nd 2x4 Braces For The Wheels
Take your other 2 of the 2x4's that were cut 16 1/4 inches and align them along the bottom of the ones you just screwed down to the box. This is a personal preference of mine because it gives me a little more space to get a broom, mop, or shop vac under the rack. Not to mention just a little more space for the warm reptile room air to get under the rack and helping keep the bottom tub temps even with the top tub temps. This step is optional though recommended.. Be sure to screw it down well!
|
Finished Caster
After you install the wheels, flip your finished caster over and now you are ready to add your braces and build your rack!
Add Your Side Braces
Add your 4 6 foot posts to the sides with a 1x6 post on each of the front side corners and a 1x4 post on each of the back side corners. Make sure you only use one screw so that you can make sure the rack is square and level once you get up a few levels. If you put in more than one screw the brace will be stuck in that position.
Adding Shelves
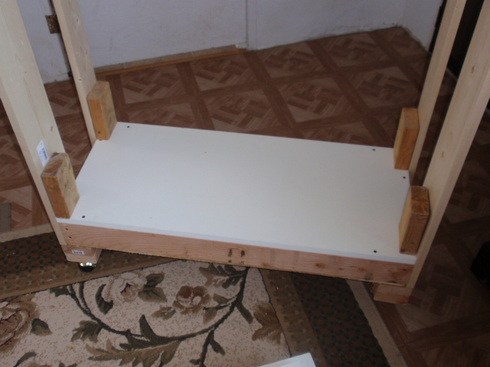
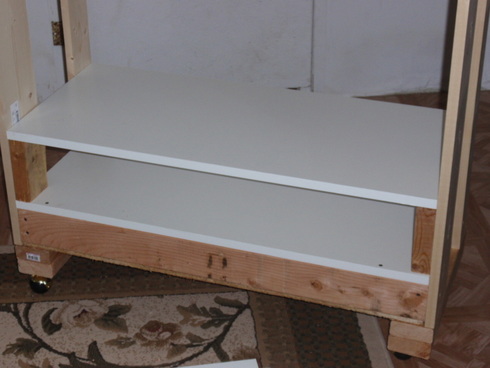
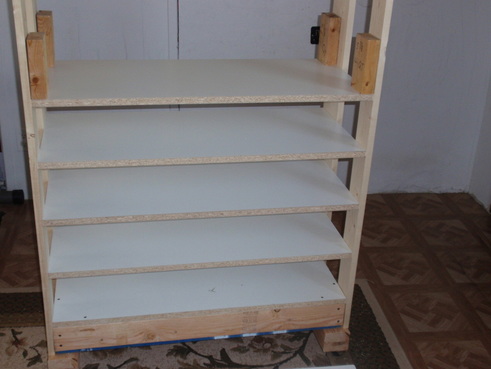
Take your 4 blocks that were cut 5 3/4 inch and place one in each corner. Then place a shelf board on top of the blocks. Pressing the shelf down on the blocks will make sure that every shelf you add has a uniform opening. Now go around to each corner post and make sure the corner brace post meets flush with the front edge of the shelf. Then, after checking everything is square, drill a pilot hole being careful to keep the bit straight and going into the center of the melamine board and then add 1 screw per corner post. Make sure you only use one screw still so that once you get up a few levels you can make sure 100% everything is square. Be sure you are putting the finished edge of the melamine facing the front for each shelf.
|
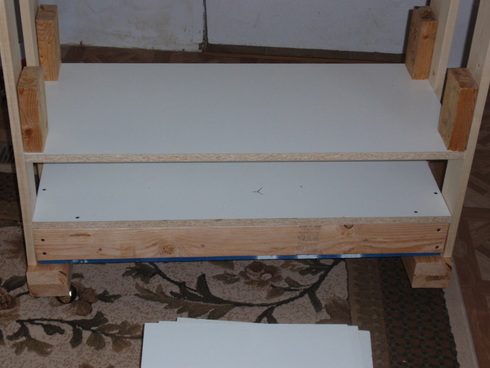
Go ahead and repeat that step until you are up a few more levels. AFTER EACH SHELF TAKE A TUB AND MAKE SURE IT FITS CORRECTLY!!! THIS IS A VERY VERY IMPORTANT PART OF ADDING EACH SHELF!! There is no worse feeling than making it up to the top of a rack and realizing you cut the spacer a hair to big or small and don't have the gap you want!! Every shelf I screw I take a tub and check the spacing. Much Much Much easier to correct a mistake as soon as you made it vs get all the way finished and have to take the rack apart!
|
Squaring The Rack
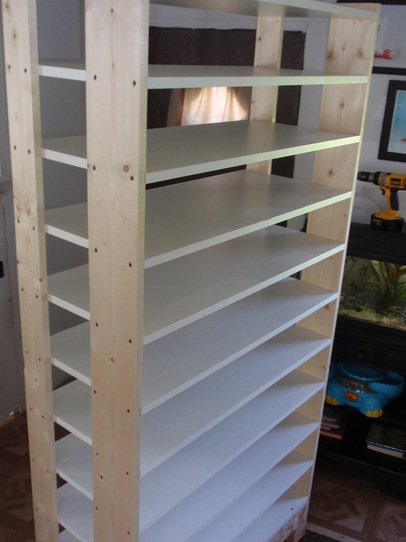
Now that you've gotten up a few levels on your rack, use a framing square or speed square to check that the shelves are square with the corner posts. Once you are confident the rack is square drill a 2nd pilot hole and add a second screw for each shelf on each post. Now that you have 2 screws in each shelf, the rack can not shift and is permanently square. Then go ahead and add the rest of your shelving.
|
SOO Close To Being Complete...
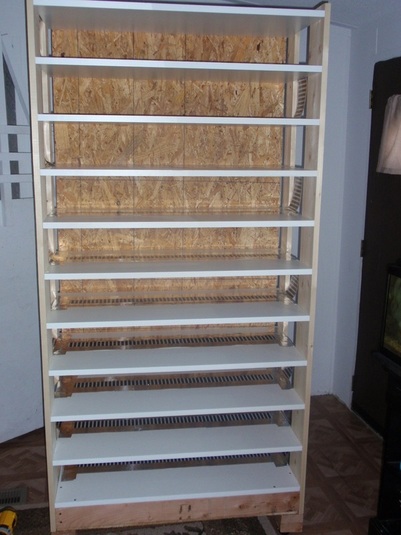
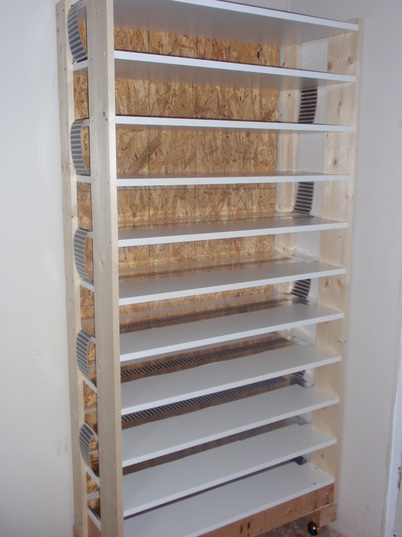
Alright you have now made it to the last shelf and have all major construction done! Now is the part of the build you just take a step back, admire your hard work for a second and let the gears start turning on what new animals you will soon have space for!
Heat Tape
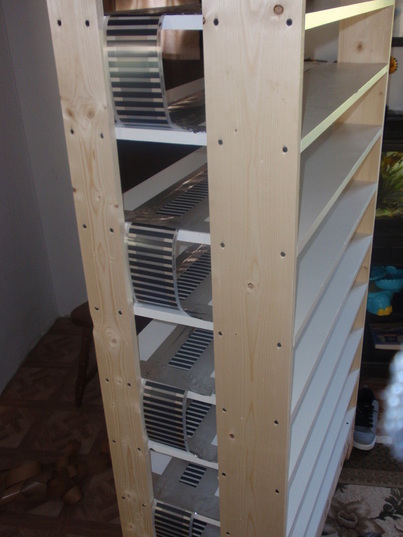
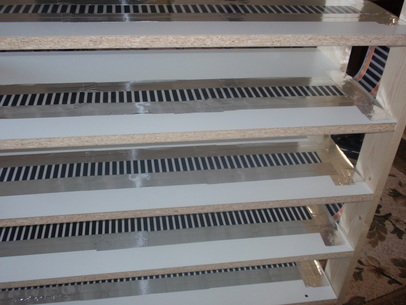
I used 4 inch heat tape which I purchased from reptile basics. I always prefer to weave the heat tape in and out of every shelf in an S pattern and tape down to the bottom of every shelf with foil tape. This allows me to only have one connection where I attached the chord to the tape. I prefer the S shaped pattern because every connection there is a risk of failure. Lets face it most of us are not electricians and are reptile enthusiasts. I have seen plenty of people have 1 piece of tape per shelf and a jumper wire connecting each together. Every one of those is a potential problem if there was a mistake ever made or connection came loose. Doing one piece per shelf say your probe is at the top and the bottom half becomes disconnected. The bottoms tubs below the break will all be cold while the top are fine. Even worse would be if the probe was below the shelf that got disconnected and was on heat tape that no longer worked. The bottom would obviously never heat up and the top part would continuously run full power. BAD BAD scenario. When I run the tape in an S shape it will all work evenly no matter where I have the probe and I don't have to worry about there being 10 connections for a problem to ever occur.
Adding The Back Piece
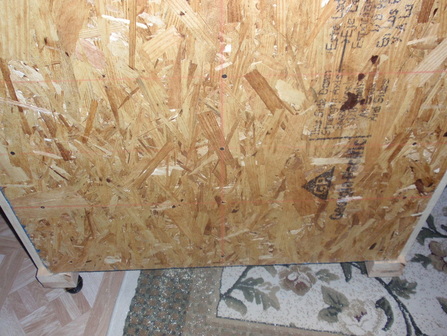
For this rack I choose to use a piece of plyboard cut 35 3/4 inches wide x 6 foot tall. I prefer the back fully enclosed on the 12qt rack just to help keep the heat in and make sure no tubs ever go back enough a small animal can sneak out. Another option would be to hang 3 more posts like the ones you used on the sides so that the 12qt tub hits a post to not go back to far. Now for hanging the plyboard...Now you will see where the 2x4 wheel braces sticking out a little bit will come in handy. Pick your sheet up and sit it on the lip provided by the 2x4 wheel braces and after checking the rack is square side to side, screw all your ends off. Using a straight edge to make sure you hit the shelving also add 1 screw in the middle for each shelf. This will make sure that over time there is never any sag in the shelf.
|
Now Fill It Up Because You Are Finished!!!!!
Now that you've saved a little cash building your own rack, you can easily justify buying some new animals to help fill it up! You did work hard after all!
